Get Ready To Shoot The Most Popular Meteor Shower in 2015: The Perseids
In just a few days, from August 11th to 14th, peaking during the night between the 12th and the 13th, we’ll have the amazing opportunity to watch and shoot the Perseids. A meteor shower caused by the comet Swift-Tuttle, which is supposed to be one of the best meteor showers that can be observed, with up to 60 meteors per hour.
Besides, the moon, with a phase below 5%, will be very thin. So, if you go to a place with little light pollution, the conditions for the shooting will be unbeatable. New moon is on the 14th, you can’t miss it!
Where and what time
This year, both the northern and the southern hemispheres are great for watching the Perseids. Although, while the observers living in the northern hemisphere will enjoy a peak of 50-70 meteors per hour during the pre-dawn hours, the ones living in the southern hemisphere will have to be content with 15 to 20 meteors per hour.
The peak of maximum intensity will occur on August 13th 2015 at 4am Eastern Daylight Time (1 a.m. PDT; 8h Universal Time), which matches most time zones of North America.
If you’re living in a timezone that 4am EDT is not nighttime, just take advantage of the shower from late evening till dawn.
Where to frame: the radiant
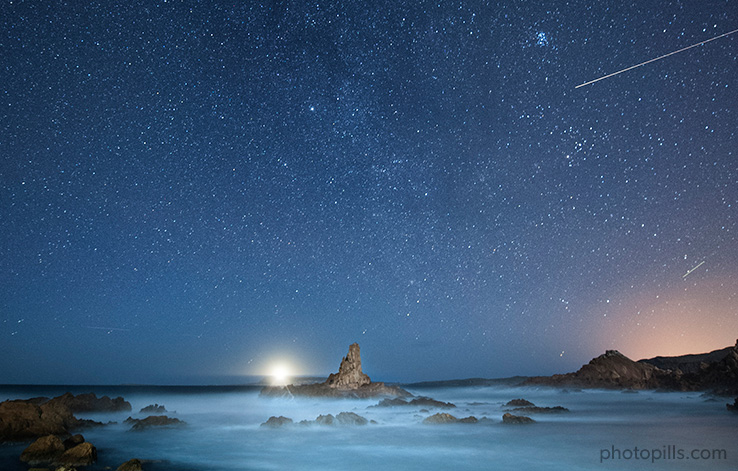
Meteors are caused by streams of cosmic debris entering the Earth's atmosphere at extremely high speeds. Smaller fragments burn in the atmosphere producing a “shooting star”, but the bigger ones can really produce an amazing big fireball.
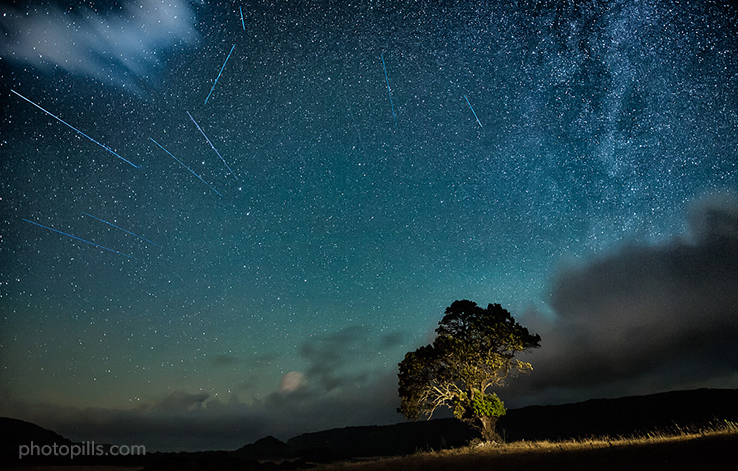
During the meteor shower, you’ll observe that meteors radiate from one point in the night sky: the radiant.
The Perseids’ radiant (the point of origin from where the meteors appear to converge) is located near the prominent constellation of Perseus.

How can you locate the radiant?
The position of the radiant in the sky is defined by two coordinates: Right Ascension (3h 4m) and Declination (+58º).
- Declination is the vertical angular distance between the center of a celestial body and the celestial equator. A declination of +20° means that the celestial body is located 20° north of the celestial equator. The south polar cap is at a declination of –90°, the equator is at declination 0°, and the north polar cap is at a declination of +90°. Declination is to a celestial globe as latitude is to a terrestrial globe, a vertical positioning of an object.
- Right Ascension is the angular distance measured eastward along the celestial equator between the vernal equinox and the celestial body. Together with Declination, it defines a position of a celestial body in the sky. It is measured in hours (1h equals to 15º), minutes and seconds.
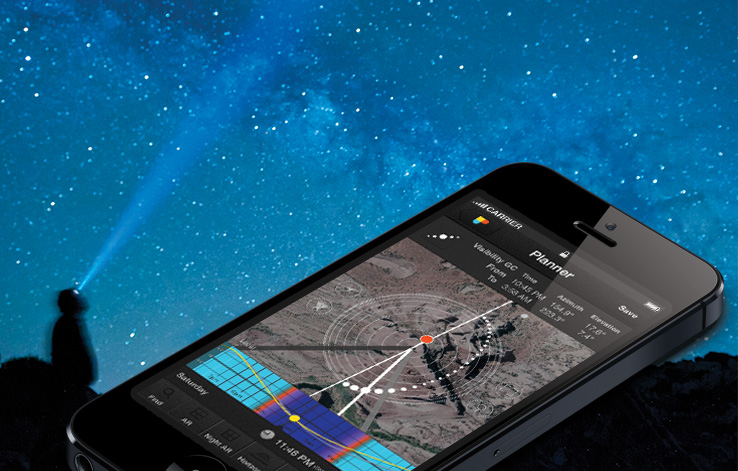
Yes, I know, both coordinates have horrible names and even worse definitions. The good news is that you don’t need to understand the theory to use PhotoPills’ Night Augmented Reality tool to locate the exact position of the radiant in the sky given by Right Ascension and Declination. Take a look at the following video to learn how to do it. It’s easier that it seems, I promise ;)
Once you’ve located the radiant in the sky for both the beginning and the end of the shooting, you’ll know exactly the path the radiant will follow and, thus, where to frame your camera to capture as much meteors as possible.
How to shoot the meteor shower
These are a few recommendations to help you with the shooting:
- Go into an area with little light pollution.
- Make sure you’re framing the right area in the sky. Use PhotoPills’ Night Augmented Reality tool to locate the radiant.
- Us a fast wide-angle lens (at least f/2.8).
- Focus at the hyperfocal distance. Make sure you’re not focusing at a shorter distance, because you’ll get stars completely blurred, even if you miss it by one inch (2.5cm). It’s much better to make focus exceeding the hyperfocal distance by 2 feet rather than falling short. You can calculate the hyperfocal distance with our on-line Depth of Field calculator.
- Set the ISO to the maximum level that your camera allows without getting excessive noise (ISO 1600 or higher is recommended).
- Use PhotoPills' on-line Spot Stars calculator to calculate the maximum exposure time to get stars as bright spots. Usually, you’ll get a value between 20 and 35 seconds, depending on the camera and lens used.
- Use a shooting interval between 2" and 5" seconds to try to capture the maximum amount of meteors.
Need more? Take a look at our article How To Shoot Truly Contagious Milky Way Pictures. You'll learn everything you need to imagine, plan and shoot stunning photos of the stars.
If you are lucky enough to capture many meteors, you can create a stunning effect by using the technique described in this video by David Kingham for image post-processing.
Enter the August contest and win a t-shirt
We’re waiting for your images! Remember you can enter our August t-shirt contest and win the t-shirt you like the most. You’ll find how to enter the contest in this blog-post.
Happy Shower!