Understanding Azimuth and Elevation
Why are azimuth and elevation so important for us... the PhotoPillers? The answer is simple: because we will need to calculate and set them to take advantage of the Find option of the Planner to plan our ideal sun and moon shots in just seconds.
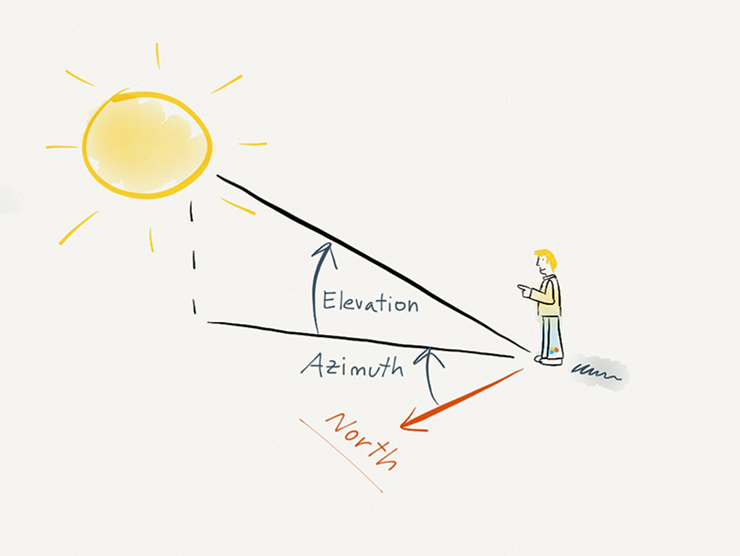
Azimuth and elevation are the two coordinates that define the position of a celestial body (sun, moon) in the sky as viewed from a particular location at a particular time.
Let’s say that you wish the sun or moon to be in a determined position in the sky... because you love the composition. That position in the sky is defined by the azimuth and the elevation.
What’s the azimuth?
The azimuth is the angle between North, measured clockwise around the observer's horizon, and a celestial body (sun, moon).
It determines the direction of the celestial body. For example, a celestial body due North has an azimuth of 0º, one due East 90º, one due South 180º and one due West 270º.

On the Planner, you’ll find the azimuth and elevation of the sun/moon for the selected date and time on one of the top panels. The azimuth is also represented on the map by the azimuth lines, and the elevation on the time bar.
To help you better understand how the azimuth is represented on PhotoPills, I've drawn North and azimuth angle of the sun for two different moments on the following screenshots.
The first one is telling you that on February 11th 2014 at 10:17am the sun was at azimuth 136.5º; and the second one that on February 11th 2014 at 3:01pm the sun was at azimuth 214.6º.


Learn more about how sun and moon information is displayed on the Planner watching the following video tutorial:
TIPS
- Notice that the map view of the Planner is always oriented towards North.
What’s the elevation?
The elevation is the vertical angular distance between a celestial body (sun, moon) and the observer's local horizon or, also called, the observer’s local plane.
For us, the elevation of the sun is the angle between the direction of the geometric center of sun's apparent disk and the observer's local horizon.
We'll say that the sun/moon is at elevation of 12º when its geometric center is situated at 12º above the observer’s local horizon or local plane.
The following two pictures show the elevation of the sun in two different positions of the observer.


Once you've decided the position of the sun/moon you'd like to have in your image, calculating the elevation is sometimes the hardest part when planning the shot.
The best way to learn how to calculate and set the azimuth and the elevation you need is by having a look at a few real examples. The following video tutorials will teach you how to do it for different situations, step-by-step:
- Planner: find sunrises and sunsets.
- Planner: find moonrises and moonsets.
- Planner: find a sun or a moon at a determined position.
- Planner: find a sun or a moon over a mountain.
In the case you prefer reading, I am sure you'll enjoy these How-to articles:
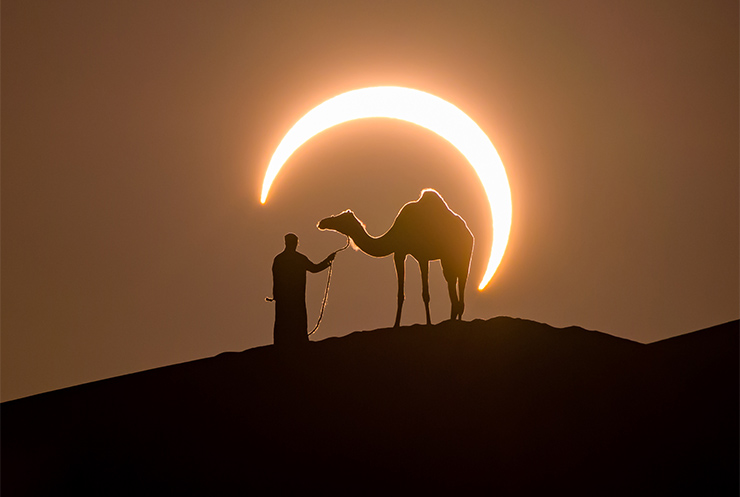
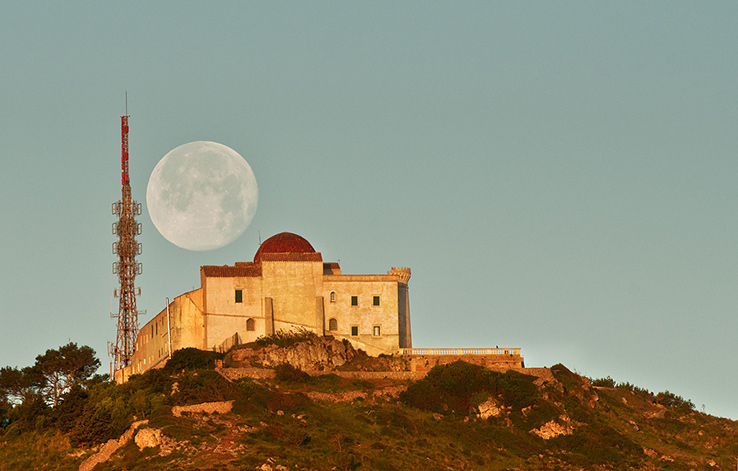
In conclusion, mastering azimuth and elevation will give you the power to plan any photo you imagine with sun and moon, including: a full moon setting under a secret stone arch, a sunrise between two giant rocks located on a magic beach, a sunset over the main street in your hometown or a dramatic full moon appearing from behind a nearby hill...
You're in control... just let your imagination run wild!
Happy Shooting!